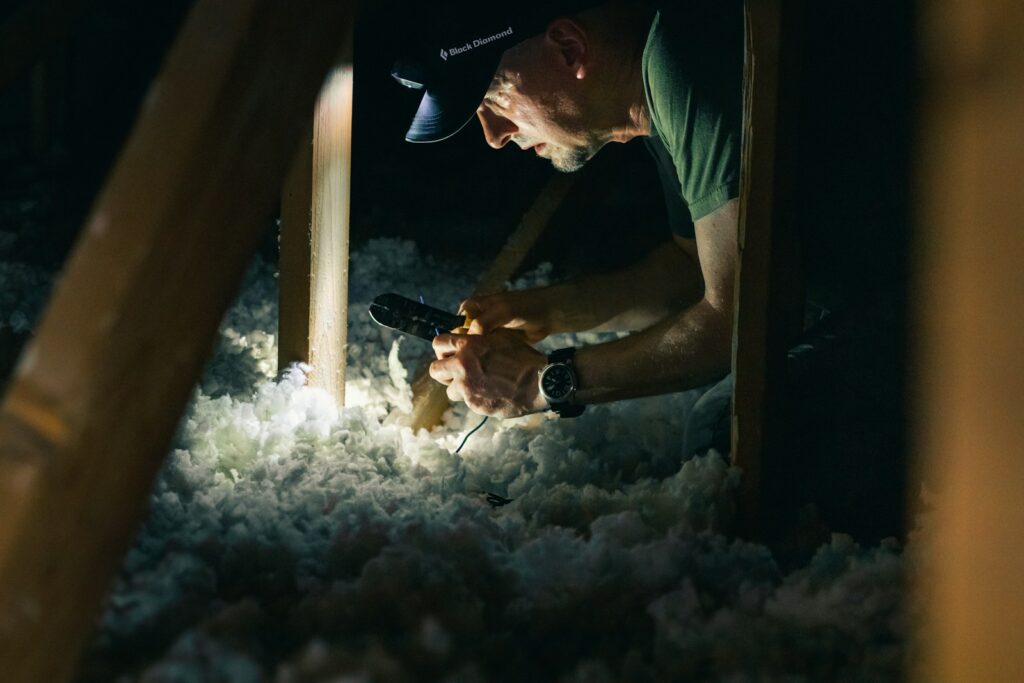
Properly insulating your attic is a cost-effective way to enhance your home’s energy efficiency and comfort. Whether you’re looking to stay warm in winter or cool in summer, insulating your attic is a DIY project that can yield significant benefits. In this guide, we’ll walk you through the process of insulating your attic yourself, along with a list of necessary attic insulation supplies.
Assess Your Attic
Before diving into the insulation process, assess your attic space. Check for any existing insulation and determine its condition. Identify and seal any gaps, cracks, or openings in the attic, as these can contribute to heat loss.
Choose the Right Insulation Material
Selecting the appropriate insulation material is crucial for effective attic insulation. Common options include fiberglass batts, blown-in cellulose, and spray foam insulation. Consider factors such as R-value (the material’s thermal resistance), cost, and ease of installation.
Gather Attic Insulation Supplies
Before you begin, make sure you have all the necessary supplies on hand. Typical attic insulation supplies include:
- Insulation material (e.g., fiberglass batts, blown-in cellulose, or spray foam)
- Insulation rolls or batts for easy installation
- Utility knife for cutting insulation material
- Insulation supports (to keep material off electrical fixtures)
- Caulk or expanding foam for sealing gaps and cracks
- Work gloves, safety goggles, and a dust mask for protection
- Tape measure for accurate sizing
- Straightedge or ruler for precise cuts
- Attic hatch insulation cover to prevent heat loss through the access point
Measure and Cut Insulation Material
Measure the dimensions of your attic space to determine the amount of insulation material needed. Use a utility knife to cut the insulation rolls or batts to fit the specific areas of your attic. Ensure a snug fit around obstacles like beams and electrical fixtures.
Install Insulation
For fiberglass batts, lay them perpendicular to the attic joists, ensuring a continuous layer without compression. For blown-in cellulose, use a machine or hire a professional to distribute the material evenly across the attic floor. If using spray foam insulation, follow the manufacturer’s instructions for proper application.
Seal Gaps and Cracks
To enhance insulation effectiveness, seal any gaps and cracks in the attic using caulk or expanding foam. Pay special attention to areas around windows, vents, and openings where drafts might occur. This step helps prevent air leakage and ensures optimal thermal performance.
Provide Ventilation
Maintain proper ventilation in your attic to prevent moisture buildup. Install soffit and roof vents to promote airflow, reducing the risk of condensation and mold growth.
Insulate the Attic Access
Don’t forget to insulate the attic access point. Use an attic hatch insulation cover to minimize heat loss through the opening. This simple addition can significantly contribute to the overall efficiency of your attic insulation.
Installation Tips for Attic Insulation
When installing insulation, work from the perimeter towards the attic center to ensure uniform coverage. Avoid compressing the insulation, especially around corners and edges. Use insulation supports to keep material off electrical fixtures. Take extra care when working with blown-in cellulose, ensuring even distribution for consistent thermal performance.
Conclusion
Insulating your attic is a rewarding DIY project that pays off in increased energy efficiency and home comfort. By following these steps and gathering the necessary supplies, you can tackle attic insulation with confidence, enjoying a more comfortable living space and potential energy savings in the long run.


