

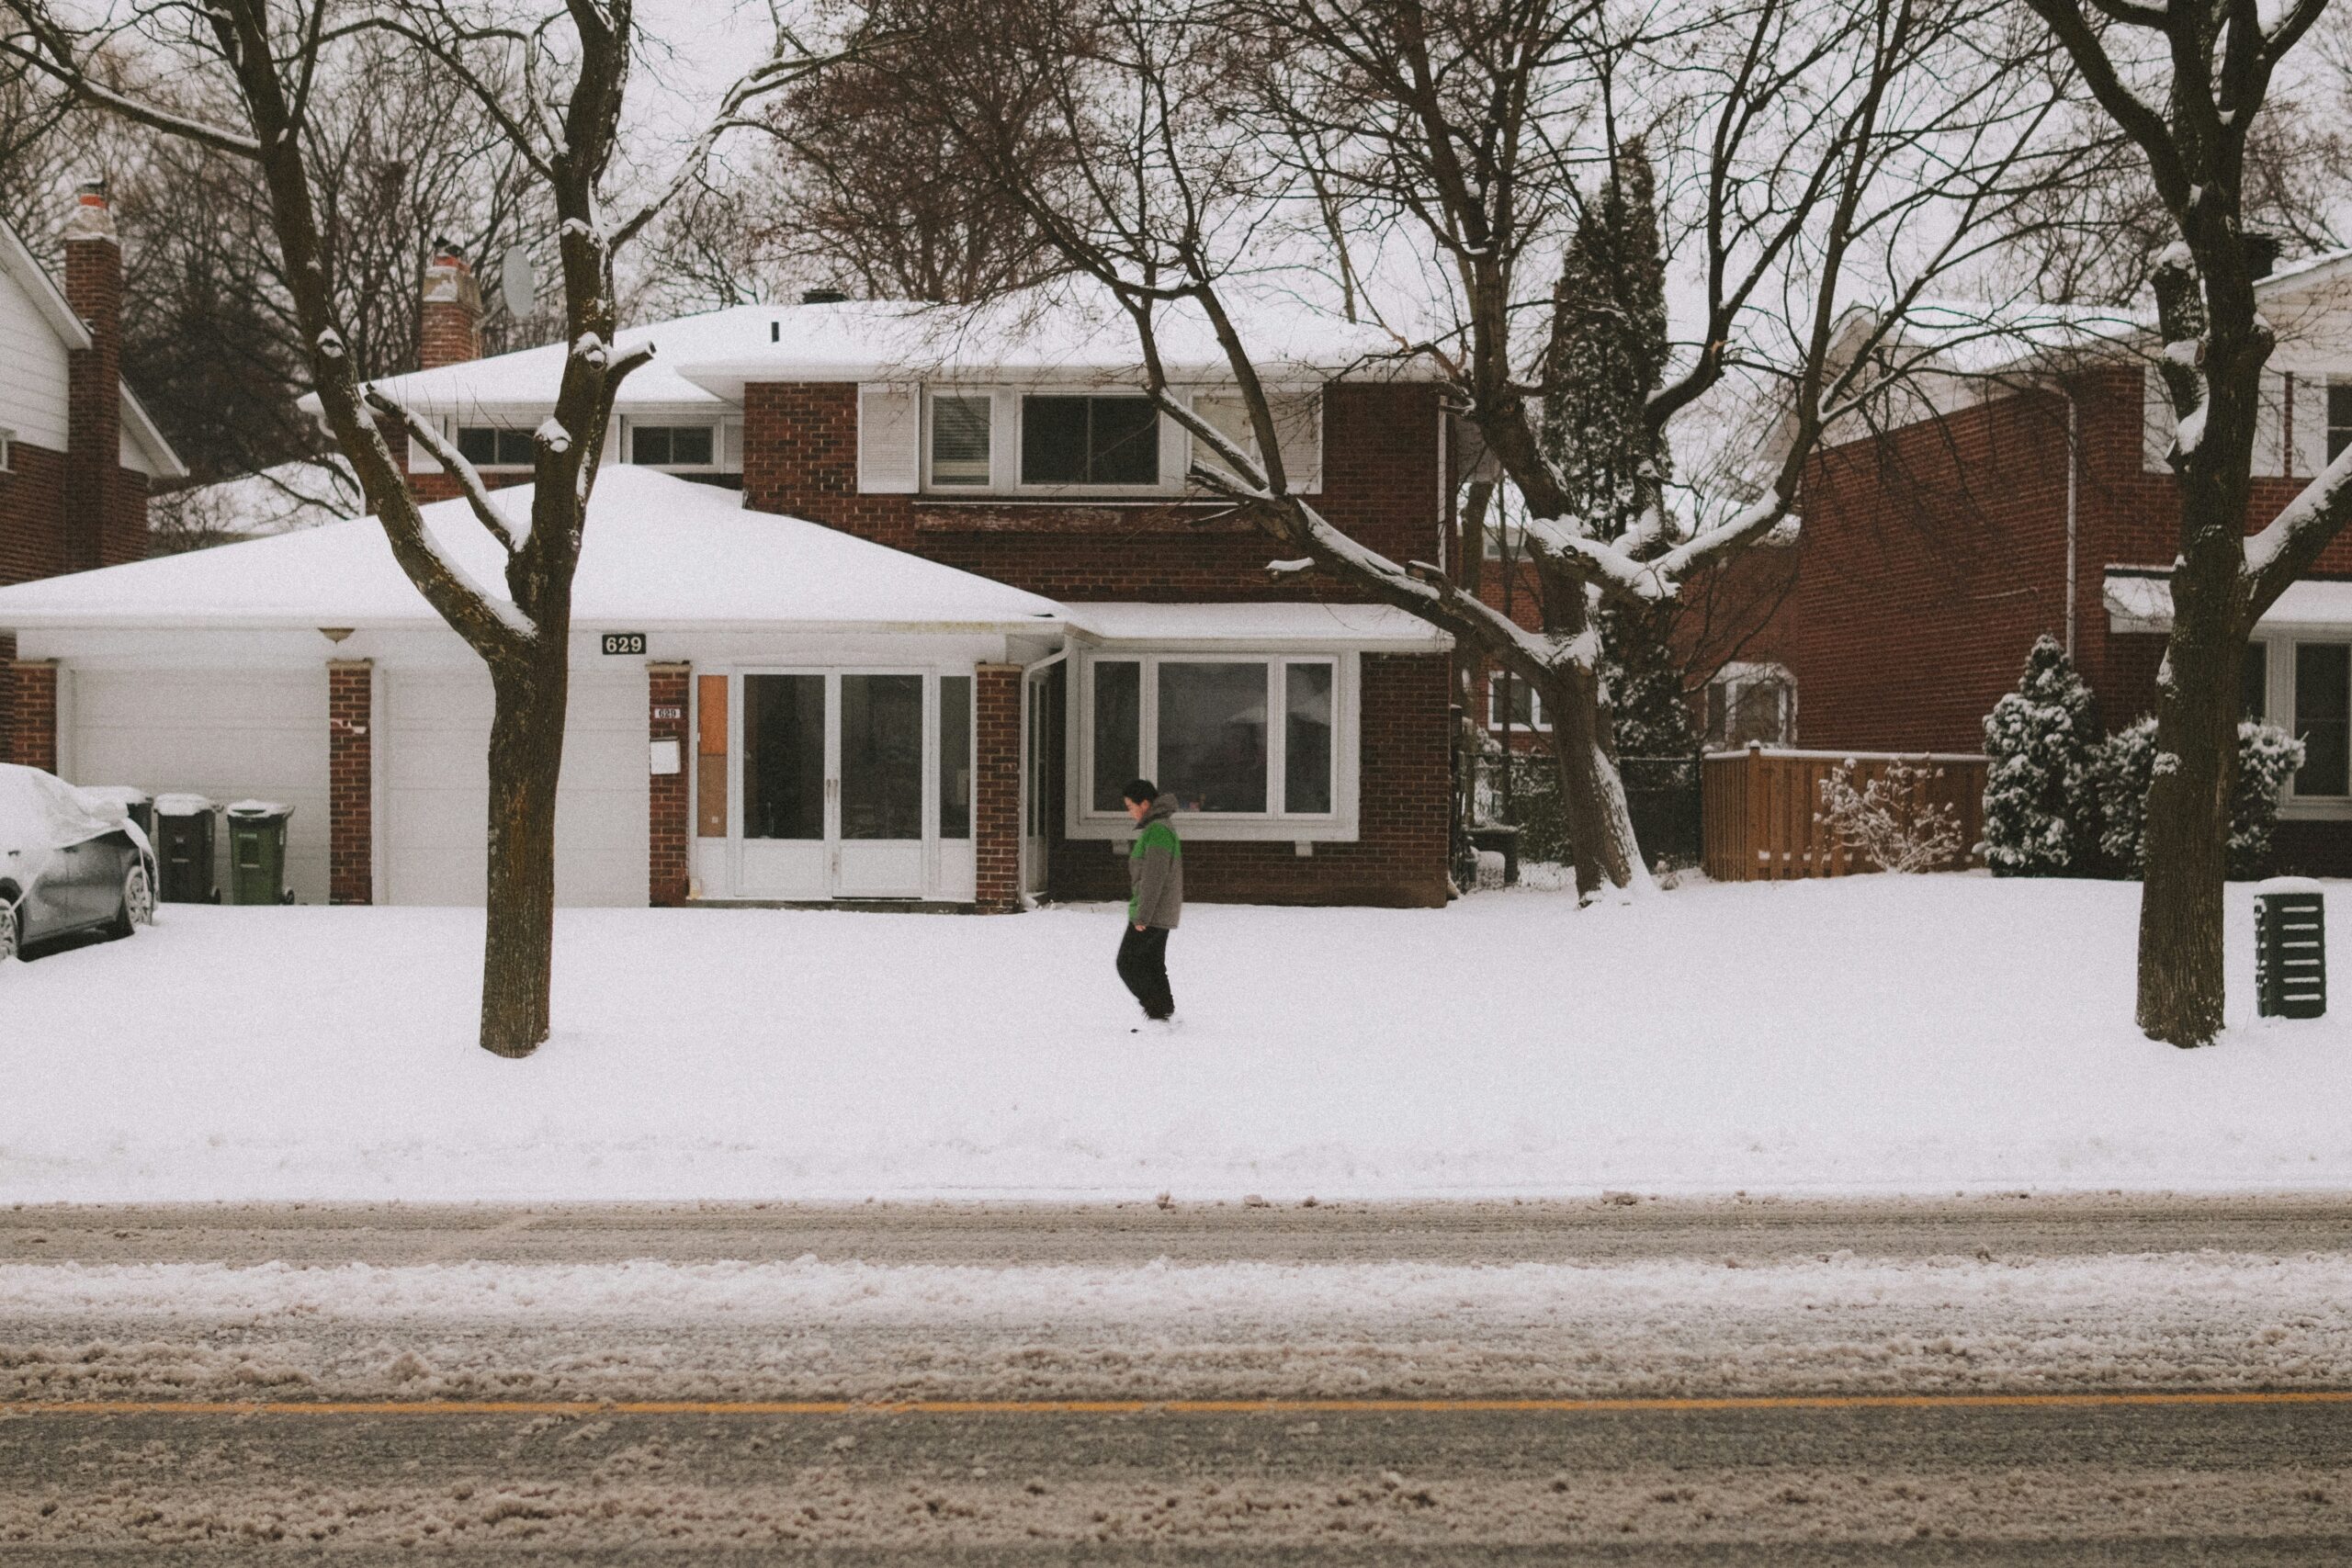
If you’re not ready for it, the first winter storm can expose many a weak point on your property. A blocked downspout creates an icy walkway, cracks in the driveway can bring your shovel to an unexpected halt, and an uneven interlocking paver can become a hidden tripping hazard. Preparing in the fall gives you safer surfaces and fewer urgent fixes once temperatures drop.
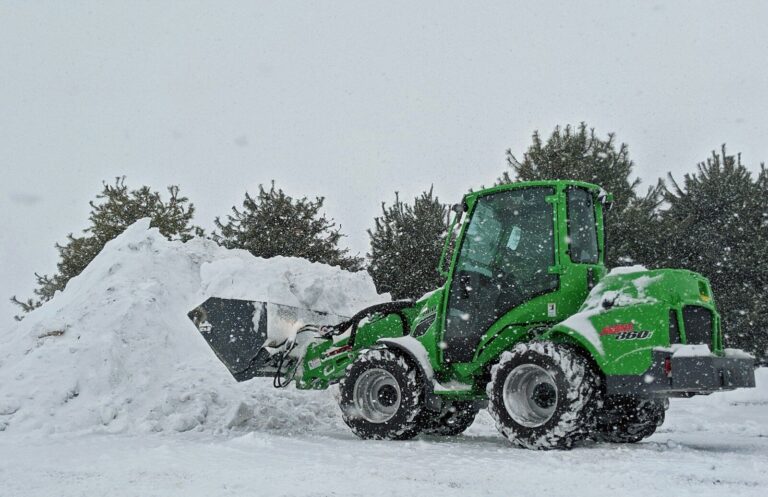
If clearing your property will be difficult, arrange snow removal before the ground and sky turn white. Contractor routes fill quickly. Confirm which areas are covered, when service begins, whether de-icing is included, and how snow will be handled after municipal plows leave a pile of ice and snow at the end of your driveway.
Walk the Property Before the Ground Freezes
Inspect every route that people may use. Repair loose paving stones, fill pavement cracks, secure railings, and improve lighting around steps and entrances. Mark driveway edges, curbs, drains, fire hydrants, utility boxes, and delicate landscaping with reflective stakes so they remain visible beneath drifting snow.
Choose snow-storage areas now. Piles shouldn’t block sightlines, accessible parking spaces, drainage routes, vents, or access to waste bins. Keep them away from low spots where melting snow could cross a walkway and refreeze overnight.
Get Water Moving Away From Busy Areas
Whitby, Oshawa, and Bowmanville can experience snow, rain, slush, and temperature swings during the same stretch of winter. That combination makes drainage especially important. Clean eavestroughs, check downspouts, and direct discharge away from stairs, walkways, and neighbouring properties. Clear catch basins and surface drains of leaves before they freeze into place.
Look overhead as well. Note weak branches near roofs, vehicles, and pedestrian routes, and have hazardous limbs assessed by a qualified arborist. Check exterior faucets, irrigation lines, and hoses, then shut down or winterize anything vulnerable to freezing.
Ready Your Tools and Ice-Control Supplies
Test your snowblower, install fresh fuel if the manufacturer recommends it, charge batteries, and keep spare shear pins or other model-specific parts nearby. Place shovels, pushers, brooms, and traction aids where they can be reached without crossing a slippery area. Ergonomic handles and lightweight tools can make repeated clearing less taxing.
Use de-icer carefully. Remove snow first, apply only the amount directed on the label, and choose a product appropriate for the surface and expected temperature. More salt doesn’t melt ice faster, but excess can damage concrete, stress plants, irritate pets’ paws, and wash into local waterways. Sand or grit can improve traction where melting is limited, though it will need to be swept up later.
Protect Plants and Outdoor Features
Tie up narrow evergreens that may split under heavy snow, but avoid wrapping branches so tightly that air can’t circulate. Move planters, hoses, furniture, and decorative items out of clearing routes. Use visible barriers to protect shrubs near driveways from shovels, blowers, and piled snow.
Avoid pushing salty snow onto garden beds. If sensitive plants border a walkway, create a designated snow zone farther away and use the smallest effective amount of de-icer nearby.
Make a Storm-Day Plan
Decide who will monitor conditions, clear entrances, treat ice, and revisit surfaces after plowing or a thaw. Local rules place winter maintenance responsibilities on property owners in many situations, so check the requirements for your municipality and property type. Keep contact details for your contractor, tenants, or maintenance team easy to find.
Preparation also needs a clear priority: open the safest essential route first, then expand from there. Walk your property before the first storm, fix the trouble spots you find, and put your winter plan in motion while supplies and professional help are still readily available.
About the Author