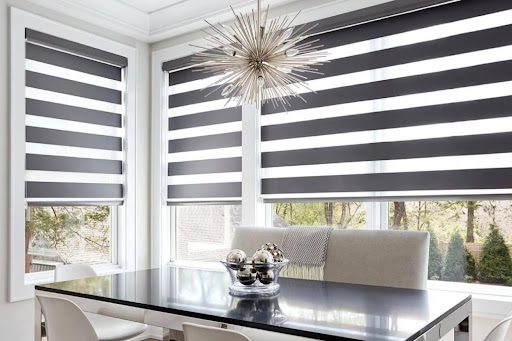
Installing windows perfectly requires more than just skill; it needs precision. Even small misalignments can lead to drafts, leaks, or uneven frames. A laser level is a game-changer tool that ensures every measurement is exact, making your window installation smooth and professional.
Using a laser level is easier than it sounds. With the right approach, it helps you achieve straight lines, perfect angles, and flawless geometric alignment without guesswork. This guide will show you exactly how to use it for window installation like a pro.
Understanding Laser Levels and Their Benefits
A laser level is a simple yet powerful tool for window installation Toronto, making the process faster and more precise. It ensures your measurements and lines are perfectly straight, preventing crooked windows and uneven frames. Even beginners can save time and avoid costly mistakes by learning how to use one properly.
What Is a Laser Level?
A laser level is a device that projects a straight line of light across a surface. This light acts as a guide, letting you line up your window frame or other materials with perfect precision. Unlike traditional bubble levels, a laser level covers long distances and can be used for both horizontal and vertical alignment. Some models even create a full grid, which makes complex layouts much easier.
Why Laser Levels Matter for Window Installation
When installing a window, even a small tilt can cause problems like air leaks, water damage, or uneven gaps. A laser level removes the guesswork by giving you a clear, visible line to follow. This ensures your window sits perfectly square and flush in the frame.
It also helps you check that multiple windows in a room line up consistently, giving your project a polished, professional look.
Key Benefits You’ll Notice
Using a laser level can save a lot of time because you don’t need to constantly measure or recheck with a tape measure. It reduces mistakes, which means fewer adjustments after installation.
You also get cleaner results, as the precision makes it easier to fit trim, siding, or other materials neatly around the window. Overall, a laser level is a tool that makes your work faster, easier, and more accurate.
Preparing Your Space for Accurate Measurement
Before using a laser level, preparing your space properly is key to a smooth and precise window installation. Taking a few extra steps beforehand can save a lot of time and prevent errors that are hard to fix later.
Clear the Area
Start by clearing the area around the window opening. Remove furniture, tools, and any obstacles that might block the laser line or get in the way during installation. A clean space gives you a clear view of the laser and makes it easier to move around without bumping anything out of alignment.
Measure the Window Opening
Even if your window came with standard measurements, it’s important to double-check the size of the opening. Use a tape measure to check the height, width, and diagonal distances. This ensures the window will fit perfectly and helps you spot any irregularities in the frame that need adjustment before installation.
Mark Reference Points
Once the area is clear and measurements are taken, mark key reference points on the wall or frame. These marks act as guides for the laser level. Even simple pencil marks at the corners or along the sill can help you align the laser accurately. Having reference points also helps you keep the window square and level during the installation process.
Check for Obstacles and Surface Irregularities
Walls, floors, or sills that aren’t completely flat can affect the laser’s accuracy. Take a moment to check for bumps, cracks, or uneven surfaces. If needed, make minor adjustments or note areas that might require shimming. Preparing the surface ensures that your laser lines reflect true alignment, not distortions from uneven surfaces.
By properly preparing your space, you set yourself up for a precise, stress-free window installation. These steps make it much easier to use a laser level effectively, giving you a perfectly aligned and professional-looking result every time.
Using a Laser Level for Perfect Alignment
Using a laser level for perfect alignment is the key to a professional-looking window installation. When done correctly, it ensures your window is straight, square, and properly positioned in the frame, avoiding costly mistakes or adjustments later.
Setting Up the Laser Level
Start by placing your laser level on a stable surface or tripod. Make sure it’s at a height that lines up with the area you want to measure. Some laser levels can be mounted on the wall, while others sit on the floor or a workbench. Double-check that the device is secure so it won’t move during installation.
Aligning Horizontal Lines
Turn on the laser level and project a horizontal line across your window opening. Use this line to align the bottom or top of the window frame. The laser line acts like a visual guide, showing you exactly where the window should sit. Adjust the frame until it matches the laser perfectly.
Aligning Vertical Lines
Next, switch to a vertical laser line. This ensures that the window is not leaning to one side. Position the vertical line along the edge of the window frame and make adjustments as needed. Proper vertical alignment is just as important as horizontal to avoid gaps or uneven edges.
Double-Checking Measurements
Even after aligning the window with the laser lines, it’s smart to measure diagonally across the frame to ensure it’s square. This step confirms that the window is perfectly level in both directions. Once everything matches, you can secure the window in place, confident that it is properly aligned.
Using a laser level makes achieving flawless alignment simple and accurate. By carefully setting up the device and following both horizontal and vertical guides, you can ensure your windows fit perfectly, look professional, and function properly for years to come.
Tips for Ensuring Flawless Window Installation
Ensuring a flawless window installation goes beyond just using a laser level. Attention to small details and following a few key tips can make the difference between a professional-looking finish and a frustrating, uneven result.
Avoid Common Mistakes
One of the most common mistakes is rushing the process. Take your time when aligning the window with the laser lines. Even a slight tilt can create gaps, drafts, or leaks later. Another mistake is not double-checking measurements. Always measure twice before securing the window to make sure everything is perfectly square.
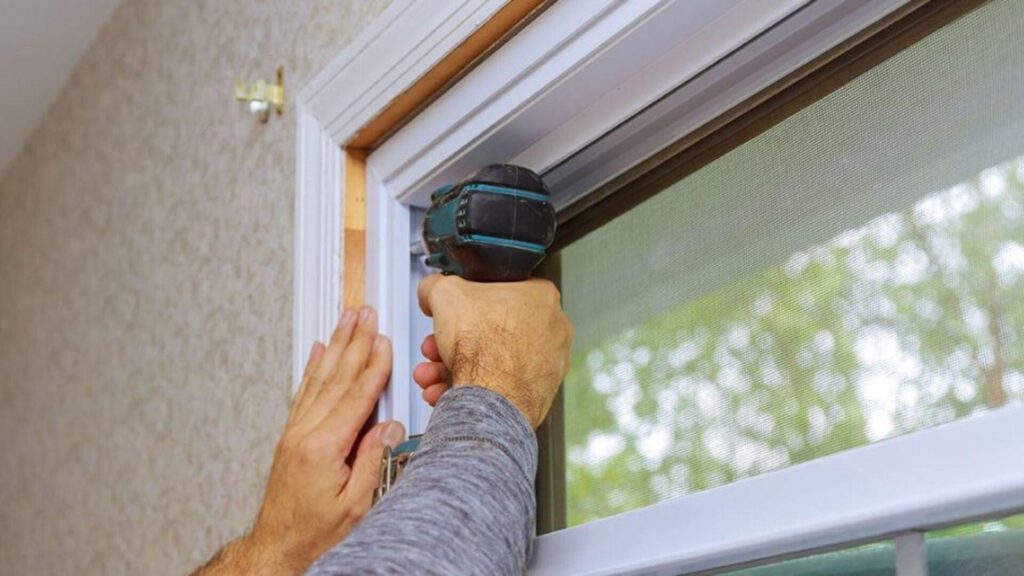
Secure the Window Properly
Once the alignment is confirmed, it’s important to fasten the window securely. Use shims to adjust any small gaps and ensure the frame sits flush with the wall. Tighten screws gradually rather than all at once, so the window does not shift out of alignment during installation.
Use the Laser Level for Final Checks
After securing the window, turn the laser back on to confirm both horizontal and vertical alignment. Check diagonals again to make sure the window frame remains square. This final step ensures that nothing moved while fastening and that your installation is precise from all angles.
Pay Attention to Surrounding Finishes
Finally, make sure that trim, siding, or insulation fits snugly around the window. Proper finishing not only improves appearance but also ensures energy efficiency and prevents water leaks. Using the laser as a guide for these details helps maintain consistency and professional quality throughout the installation.
Conclusion
Mastering a laser level transforms window installation from tricky to precise. By following these steps, you can ensure perfect geometric alignment and a professional finish. Using a laser level simplifies measurements, reduces errors, and guarantees your windows fit flawlessly every time.